

Description
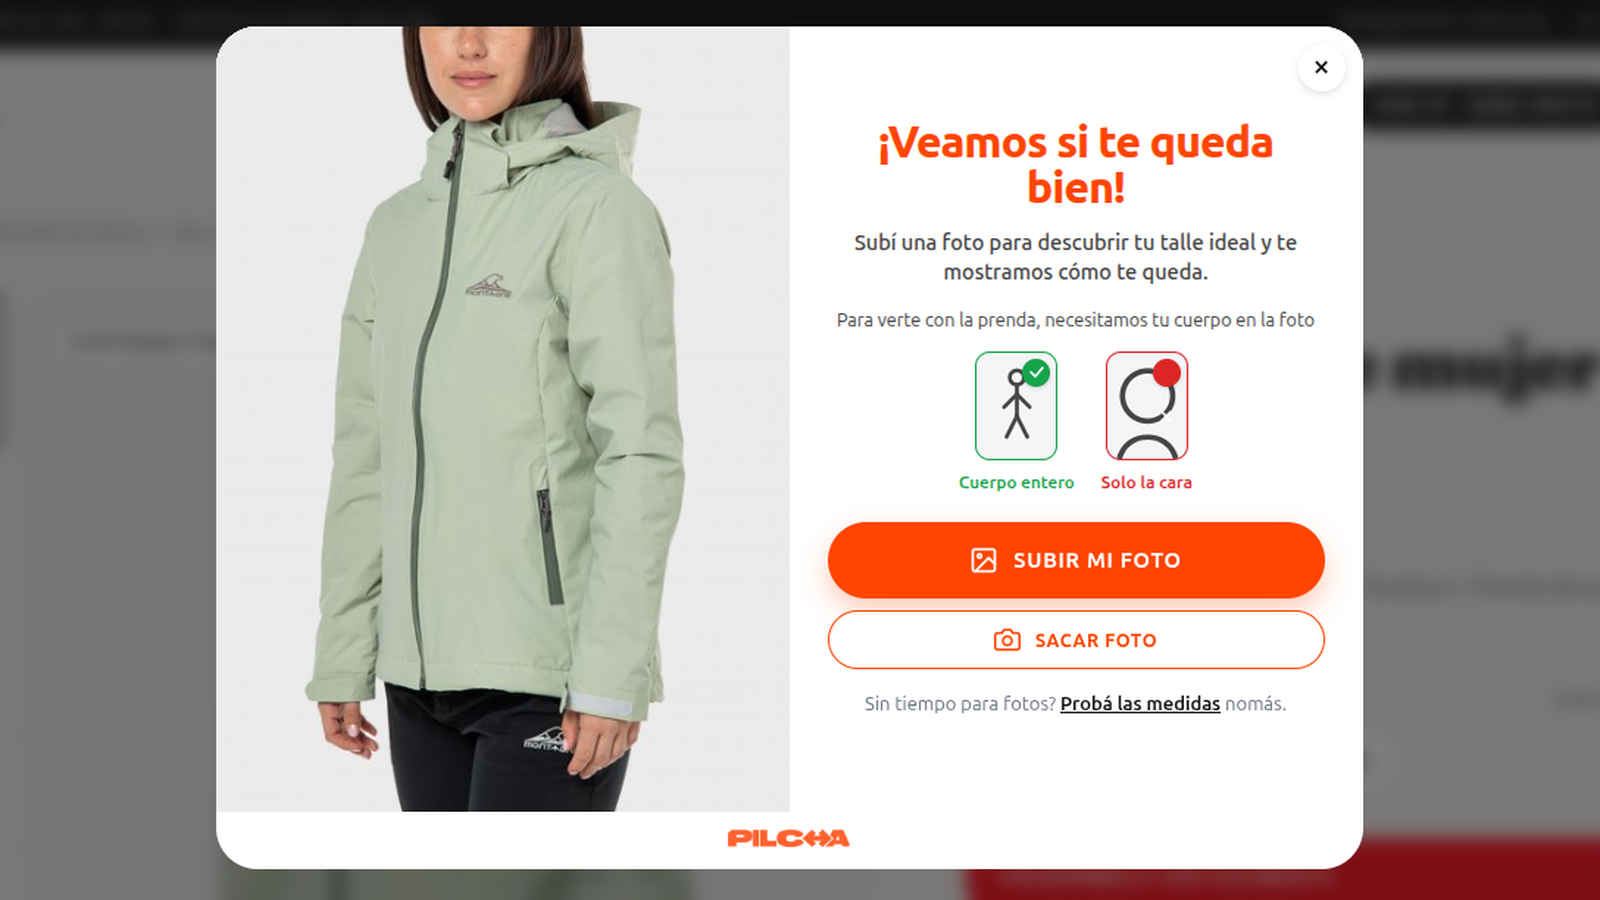
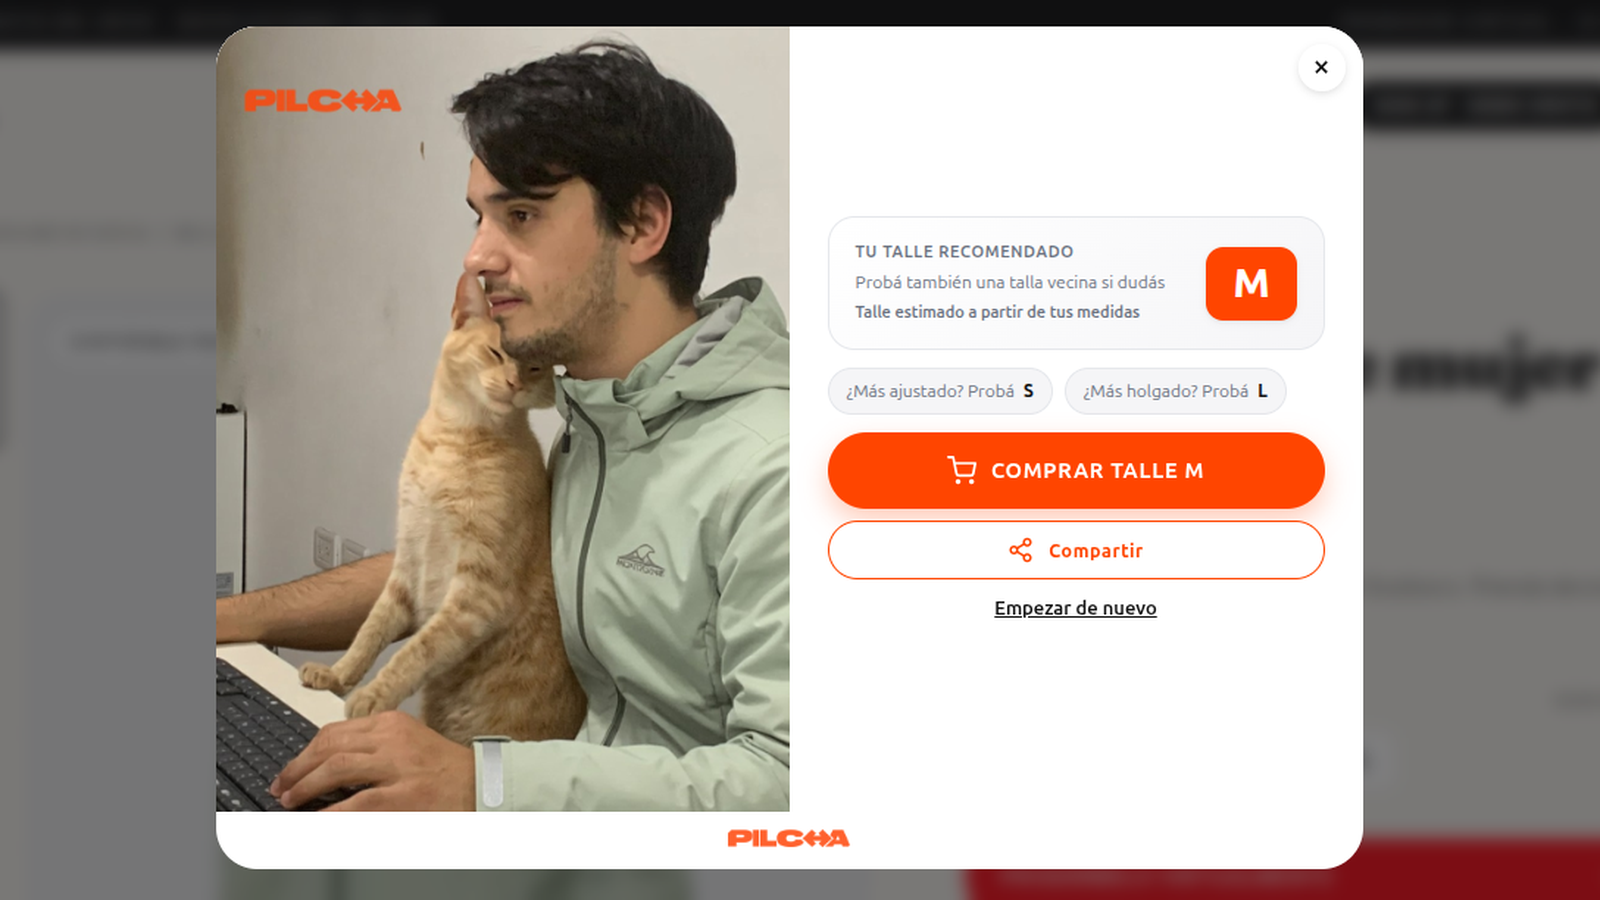
Pilcha adds an AI-powered virtual try-on to your WooCommerce store: shoppers upload
a photo, see how a garment looks on them, and get a recommended size — right on the
product page. This increases conversion and reduces returns.
The plugin is the WooCommerce connector for Pilcha. It injects the Pilcha widget on
your product pages using your public Store Token. All the try-on processing happens
on the Pilcha platform (a hosted service); the plugin itself is a thin connector.
Setup in 3 steps:
- Install and activate the plugin.
- Go to WooCommerce Pilcha Try-On and paste your Store Token (from dashboard.pilcha.ai).
- Done — the widget shows automatically on every product page.
Pilcha is a third-party SaaS. You need a Pilcha account to use this plugin. See the
External Services section below for exactly what data is shared.
External services
This plugin connects your store to Pilcha, a third-party AI virtual try-on
service, to show the try-on widget on product pages.
What it does:
- Loads a script (the widget loader) from
https://cdn.pilcha.aion product pages. - The widget communicates with the Pilcha API at
https://api.pilcha.ai.
Data sent to Pilcha:
- Your public Store Token (identifies your store to Pilcha).
- The product identifier of the page being viewed.
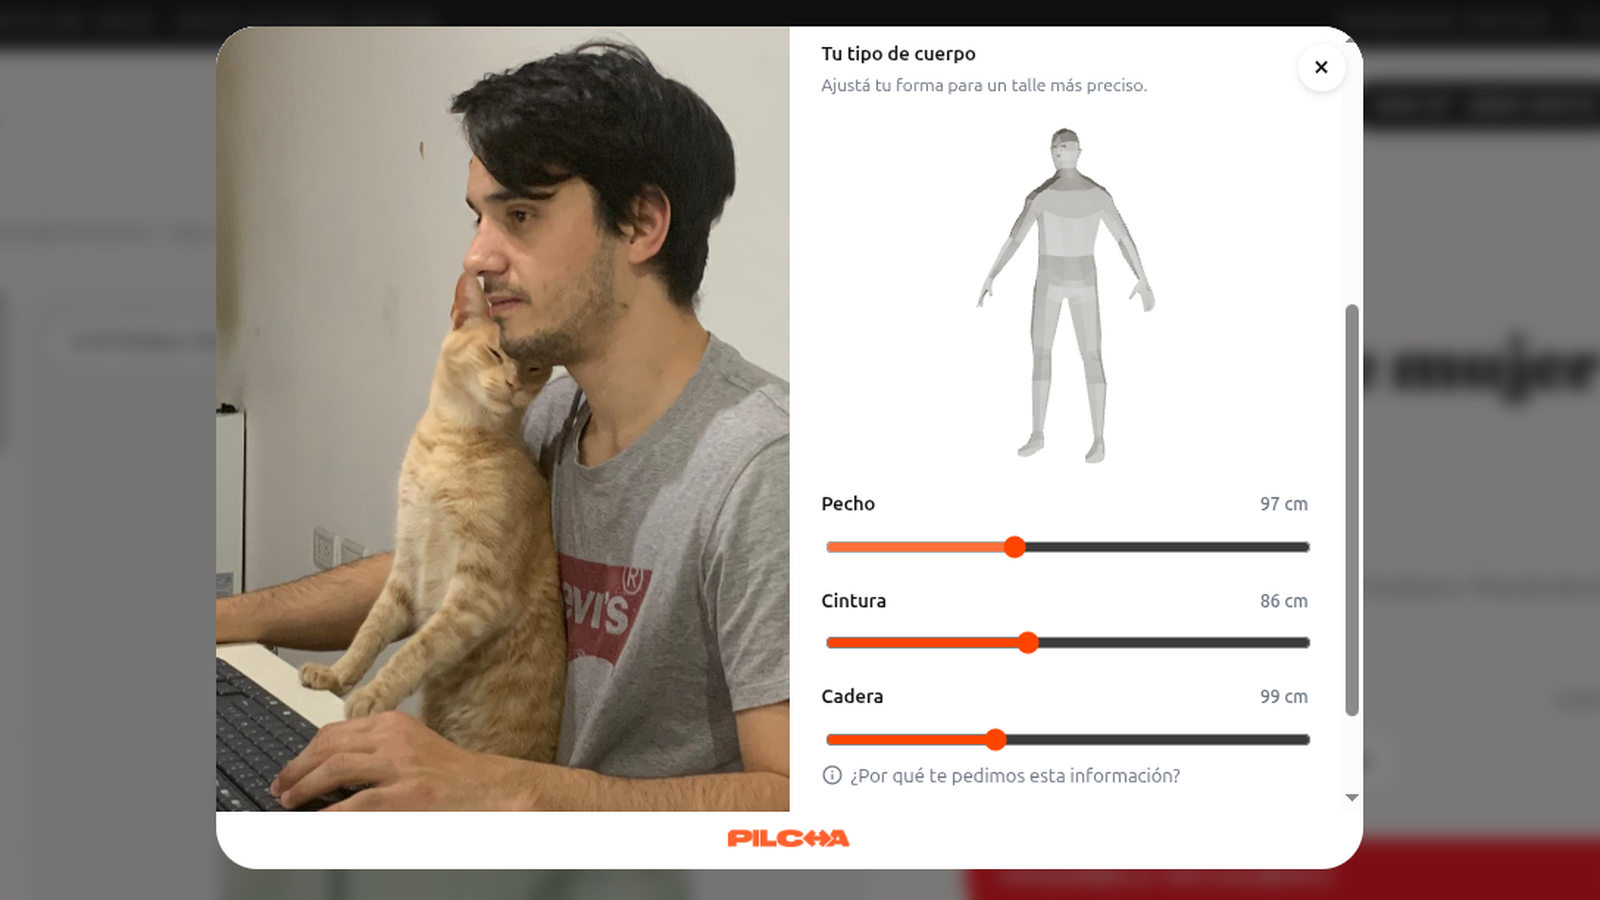
- The photo and body measurements that a shopper uploads voluntarily to
generate their try-on. The shopper provides these directly in the widget; the
plugin does not collect or store them on your server.
The try-on generation and any image storage happen on the Pilcha platform, governed by:
- Terms & Conditions: https://pilcha.ai/tyc
- Privacy Policy: https://pilcha.ai/privacidad
By installing this plugin and configuring your Store Token, you enable this
connection. You can disable it at any time (deactivate the plugin or untick
“Enable widget” in its settings).
Screenshots
Installation
- Upload the plugin files to the
/wp-content/plugins/pilcha-tryondirectory, or install the plugin through the WordPress plugins screen directly. - Activate the plugin through the ‘Plugins’ screen in WordPress.
- Go to WooCommerce Pilcha Try-On and paste your Store Token (available in your Pilcha dashboard at dashboard.pilcha.ai).
- The widget will appear automatically on every product page once a token is saved.
You need a Pilcha account to use this plugin. Sign up at pilcha.ai.
FAQ
-
Where do I get the Store Token?
-
In your Pilcha dashboard (dashboard.pilcha.ai), in your store’s section.
-
On which pages does the widget appear?
-
Only on single product pages (PDP). It has no impact on the rest of the store.
-
Do I need a Pilcha account?
-
Yes. Pilcha is a hosted service; the plugin is the connector to it.
-
How do I disable it?
-
Deactivate the plugin, or untick “Enable widget” in its settings.
-
What languages does it support?
-
The admin UI ships in English, Spanish (es-AR) and Portuguese (pt-BR).
Reviews
There are no reviews for this plugin.
Contributors & Developers
“Pilcha Try-On” is open source software. The following people have contributed to this plugin.
Contributors
Translate “Pilcha Try-On” into your language.
Interested in development?
Browse the code, check out the SVN repository, or subscribe to the development log by RSS.
Changelog
1.0.0
- First release. Automatic injection of the Pilcha loader on WooCommerce product
pages. Settings page with Store Token. i18n (en / es-AR / pt-BR).